


Great Grandma’s Scones
Disclosure: This post contains affiliate links. If you click through and make a purchase, I may earn a small commission at no extra cost to you. Please know that I only recommend kitchen tools and ingredients I truly love. All opinions and recipe critiques are entirely my own!
A classic English recipe for traditional scones. A signature treat in our family: Great Grandma’s scones! I’ve seen her recipe scribbled on numerous different recipe cards over the years. In this post, I’m sharing my slight twist on her classic recipe, but you can find a photo of my mom’s recipe card at the bottom!

A family legacy
There are some recipes that feel special simply because they’ve been made so many times. This scone recipe is one of those for me.
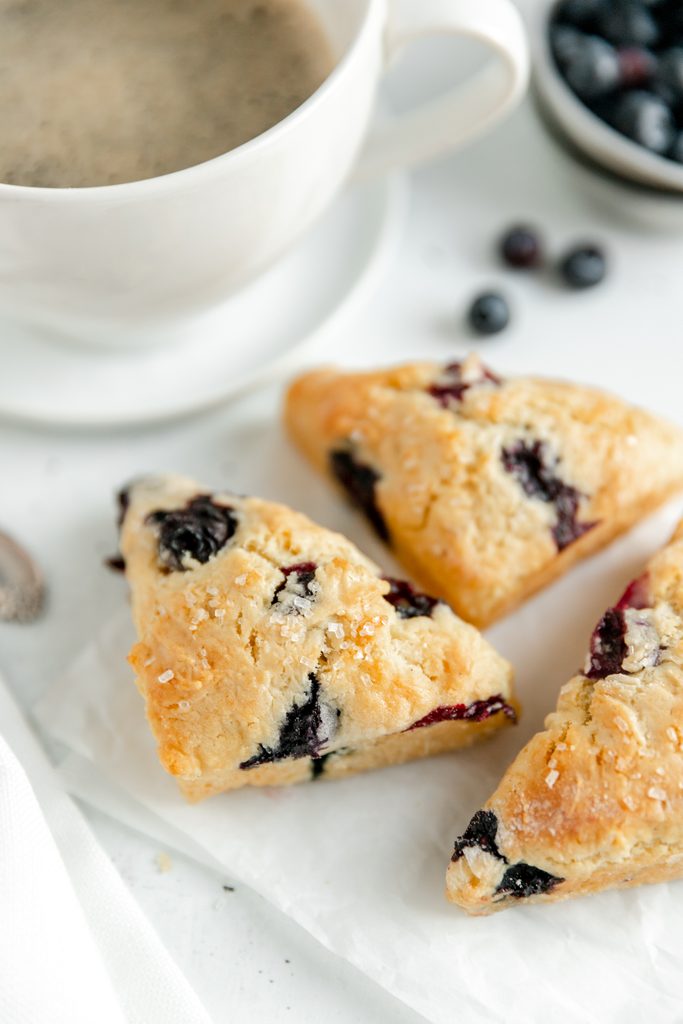
It’s a simple, old-fashioned scone recipe that has been in my family for years. Nothing fancy or complicated. Just tender, lightly sweet scones with crisp edges and a soft, fluffy center. They’re the kind of recipe you can make without much fuss, and they’re especially good alongside a cup of coffee or tea.
I love baking these in a scone pan, which gives them the perfect size and shape every time. If you don’t have a scone pan, don’t worry; they can just as easily be shaped and cut into triangles, or cut into circles with a biscuit cutter.
While cinnamon chips are my favorite addition, this recipe is easy to customize with whatever you have on hand. Blueberries are a close second for me! Chocolate chips, dried fruit, figs, or chopped nuts would all be delicious, too.
Why I love this scone recipe
What makes these scones a little different is the combination of butter and shortening. The butter gives the scones their flavor and tenderness, while the shortening helps create a light, delicate texture.
The recipe also uses buttermilk, which adds a subtle tang and helps keep the scones tender. Because the dough comes together with just a handful of basic ingredients, these are easy enough to make whenever the craving strikes.
They’re not overly sweet, either, which is exactly how I like a scone. The small amount of sugar in the dough gives them just enough sweetness, while the cinnamon chips add little pockets of warm, cinnamon flavor.
If you love scones, also check out my recipes for Cinnamon Chip Scones with Maple Glaze, Maple Raisin Scones, or Brown Butter Vanilla Bean Scones!
How to make these scones
Start by whisking together the flour, sugar, baking powder, baking soda, and salt. Cut in the cold butter and shortening until the mixture resembles coarse crumbs. You want some small pieces of fat to remain throughout the flour. This helps create a tender texture as the scones bake.
Stir in the cinnamon chips, if using. Then combine the beaten egg and buttermilk and gently stir them into the dry ingredients. Be careful not to overmix the dough; just mix until everything comes together.
Using a Scone Pan
For the easiest option, lightly grease a scone pan and divide the dough evenly among the sections. Gently press the dough into the pan, being careful not to compact it too much.
If you don’t have a scone pan, turn the dough onto a lightly floured surface and gently shape it into a round about 1-inch thick. Cut it into 8 wedges, or use a biscuit cutter to cut the dough into circles.
Bake until the scones are lightly golden around the edges and baked through.
Storage and freezing
These scones are best enjoyed the day they are baked, when they have that lovely tender texture and lightly crisp exterior.
If you have leftovers, store them in an airtight container at room temperature for up to 2–3 days. Keep in mind that they will gradually lose some of their freshness and tenderness, so I definitely recommend enjoying them as soon as possible.
You can also freeze the baked scones for longer storage. Let them cool completely, then place them in an airtight freezer-safe container or bag. Thaw at room temperature and, if desired, warm them briefly in the oven before serving. They will still be delicious, but the texture won’t be quite as perfect as when they’re freshly baked.
Here’s the original recipe card from my mom below!


learn more
Whether you need fresh new photos for your website, fun content for social media, or a new recipe idea, I’d love to work with you!
Let's capture your food from its good side.
food photography services
My Go-to Buttercream Frosting for Cakes & Cupcakes
a sweet little gift for you

©️ 2021-2026 French Vanilla Photography & Bakery | Brand & Website by Maya Palmer Designs | Brand Photos by Kelly Braman Photography | Policies